
 EN
EN
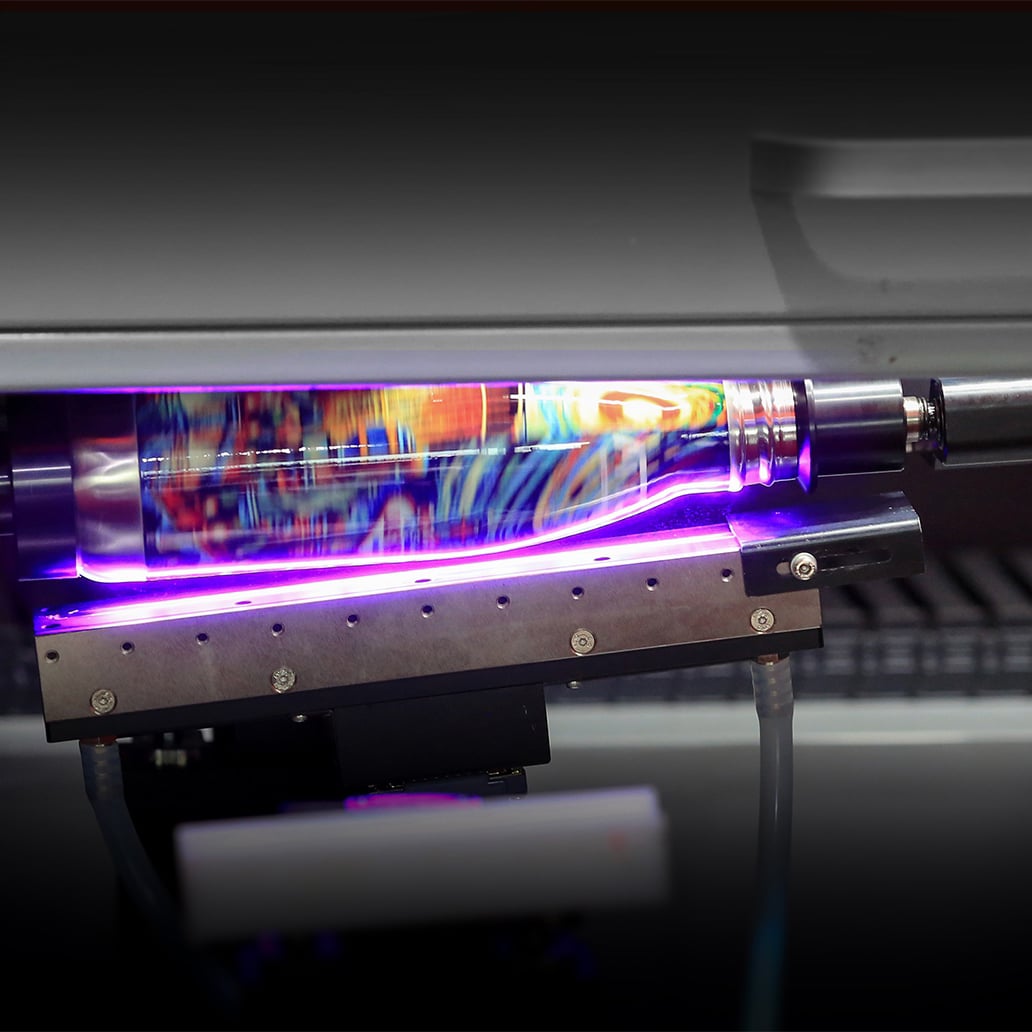
The Fundamental Question That Gets Asked in Every Factory
Walk into any packaging facility that is considering direct-to-bottle printing, and the same question comes up: how does the ink actually stick to glass and plastic? It sounds simple, but the answer involves surface chemistry, droplet physics, and curing dynamics that most operators never need to think about—until something goes wrong.
A bottle inkjet printer does not print the way a desktop printer does. It does not rely on absorption into the substrate because glass and most plastics do not absorb ink. Instead, it uses a combination of surface preparation, precise droplet placement, and instant curing to create a durable image on materials that are fundamentally non-porous.
The process breaks down into three distinct phases: pretreatment, printing, and curing. Each phase has its own variables, and each must be controlled within specific parameters for the final result to meet quality standards.
Pretreatment: Getting the Surface Ready to Accept Ink
Before any ink touches the bottle, the surface must be prepared. This is not optional for most plastics and many glass types. The surface energy of the substrate determines how well the ink will wet out and spread. Low surface energy materials like polyethylene and polypropylene cause ink to bead up rather than form a smooth film.
Pretreatment raises the surface energy through physical or chemical modification. Plasma treatment is common in industrial bottle printing systems. It works by bombarding the surface with ionized gas, which breaks molecular bonds and introduces polar groups that increase surface energy. The effect is temporary—surface energy begins to drop within hours—so pretreatment must happen immediately before printing.
Flame treatment is another option, particularly for plastic bottles. A controlled flame passes over the surface, oxidizing it and raising surface energy. The process is well understood and cost-effective, though it requires careful control to avoid damaging the substrate.
For glass bottles, pretreatment often involves a different approach. Glass is inherently high-energy, so adhesion challenges come from contamination or the presence of release agents from the forming process. Cleaning and sometimes a thin primer coating prepare the surface for inkjet printing.
The Printing Phase: How Droplets Land on a Curved Surface
The actual printing happens through piezoelectric inkjet technology. Print heads contain hundreds or thousands of tiny nozzles, each capable of firing ink droplets on demand. An electrical signal causes a piezoelectric crystal to deform, creating pressure that ejects a droplet from the nozzle. The droplet travels through the air and lands on the bottle surface.
This sounds straightforward, but the curved surface introduces complications. The distance from the print head to the bottle surface changes as the bottle rotates, especially if the bottle is not perfectly round. A bottle inkjet printer compensates through real-time adjustments in droplet timing and sometimes through print head height positioning.
The ink formulation itself is critical. UV-curable inks contain monomers, oligomers, photoinitiators, and pigments. When exposed to UV light, the photoinitiators trigger a polymerization reaction that turns the liquid ink into a solid polymer film. This is fundamentally different from solvent-based inks, which dry through evaporation and leave behind a solid residue.
Droplet size and placement determine image quality. Industrial print heads can produce droplets in the range of 3 to 20 picoliters. Smaller droplets produce finer detail but require more passes to achieve density. The print head fires at frequencies measured in kilohertz, laying down millions of droplets per second across the printing area.
Curing: Locking the Image in Place
Curing is where the magic happens—and where many printing problems originate. As soon as the ink droplets land, they need to be cured. UV lamps positioned immediately after the print heads expose the wet ink to intense ultraviolet light.
The curing process has two stages: pinning and full cure. Pinning uses lower-intensity UV to partially cure the ink, fixing it in place so it does not spread or bleed. Full cure uses higher intensity to complete the polymerization, creating the final durable film. This two-stage approach is particularly important on non-absorbent surfaces like glass and plastic, where the ink has no opportunity to soak in and stabilize.
Curing parameters must be adjusted for different substrates. Glass reflects UV light, which can reduce curing efficiency if the lamps are not positioned correctly. Dark-colored plastics absorb more heat, which can affect the curing kinetics. The bottle inkjet printer’s control system manages these variables automatically, but the operator needs to understand the principles to troubleshoot when issues arise.
The result of proper curing is a printed image that resists scratching, chemicals, and fading. The ink becomes part of the surface rather than sitting on top of it, which explains why UV-cured prints on bottles survive handling and washing that would destroy solvent-based prints.
The Material-Specific Differences That Matter
Printing on plastic is not the same as printing on glass, and a bottle inkjet printer must handle both. The differences go beyond surface energy into thermal properties, optical characteristics, and chemical compatibility.
| Material Property | Plastic Bottles | Glass Bottles |
|---|---|---|
| Surface energy | Low (requires pretreatment) | High (requires cleaning) |
| Thermal conductivity | Low | High |
| UV transmission | Varies by color/opacity | High (reflects some UV) |
| Ink adhesion mechanism | Mechanical interlock + chemical | Chemical bonding |
| Pretreatment required | Usually yes | Sometimes yes |
| Curing challenge | Heat sensitivity | UV reflection |
Plastic bottles are sensitive to heat, which limits the curing intensity that can be applied. Excessive heat can deform the bottle or affect its structural integrity. The curing system must deliver enough UV energy to cure the ink without overheating the substrate. This is why UV-LED curing has become popular for plastic bottle printing—it produces less heat than traditional mercury vapor lamps.
Glass bottles conduct heat away from the surface quickly, which can slow the curing reaction. The UV lamps may need to be positioned closer to the surface or run at higher intensity to compensate. Glass also reflects UV light, so the curing system design must account for reflected energy that could affect nearby components.
A Real-World Observation from a Production Setting
A contract decoration facility in the Southeast was running a mix of glass and plastic bottles through the same bottle inkjet printer. The glass line ran perfectly. The plastic line had intermittent adhesion failures—prints would pass the initial quality check but fail a tape test after 24 hours.
The investigation traced the problem to pretreatment inconsistency. The plasma unit was positioned at a fixed distance from the bottles, but the plastic bottles had slight variations in diameter. The variations changed the gap between the plasma nozzle and the bottle surface, altering the treatment intensity. Once the pretreatment unit was adjusted to accommodate the diameter variations and a feedback loop was added to monitor treatment effectiveness, the adhesion failures stopped.
This example illustrates a broader point: bottle inkjet printing is a system, not a standalone process. Pretreatment, printing, and curing must work together, and each component affects the others. A change in one variable—bottle diameter, material type, ink formulation—ripples through the entire system.
What the Operator Needs to Know
Successful bottle inkjet printing depends on operator understanding as much as equipment capability. The operator does not need to be a chemist, but they do need to recognize the signs of common problems and know which parameters to adjust.
Ink clogging in the print heads is the most frequent maintenance issue. UV inks cure when exposed to light, which means they can cure inside the nozzles if not properly managed. Print head cleaning cycles, purge routines, and capping systems prevent this, but the operator must follow the maintenance schedule.
Registration errors occur when the bottle rotation is not synchronized with the print head firing. This shows up as distorted images or seams where the beginning and end of the print do not meet. The operator adjusts the synchronization parameters through the printer’s control software.
Color consistency depends on ink temperature, print head condition, and curing consistency. Operators monitor these through the printer’s diagnostic displays and make adjustments as needed. The learning curve is manageable, but it requires attention to detail.
The Underlying Engineering That Makes It Work
The bottle inkjet printer’s ability to print directly on plastic and glass comes down to engineering choices made at the system level. The rotation mechanism must hold the bottle securely and rotate it smoothly. The print head carriage must move precisely. The curing system must deliver consistent UV output.
These subsystems are integrated through a control architecture that coordinates their actions. Encoders track the rotation position and speed. Sensors monitor print head temperature and ink flow. The control software translates the digital image into firing commands for each nozzle.
The engineering trade-offs are real. Higher resolution requires smaller droplets, which means more passes or slower speeds. Faster speeds require higher firing frequencies, which can affect droplet stability. The best bottle inkjet printers balance these factors to deliver reliable performance across a range of applications.
NOVA Inkjet Technology has developed its bottle inkjet printer platforms with an emphasis on system integration, recognizing that the individual components matter less than how they work together. The company’s approach to print head selection, ink formulation, and curing system design reflects a practical understanding of what happens on the production floor when bottles of different materials run through the same machine.
Table of Contents
- The Fundamental Question That Gets Asked in Every Factory
- Pretreatment: Getting the Surface Ready to Accept Ink
- The Printing Phase: How Droplets Land on a Curved Surface
- Curing: Locking the Image in Place
- The Material-Specific Differences That Matter
- A Real-World Observation from a Production Setting
- What the Operator Needs to Know
- The Underlying Engineering That Makes It Work