
 EN
EN
The Tumbler Printing Boom and Its Hidden Complexities
Custom tumblers have become a massive category in the promotional products and direct-to-consumer space. Stainless steel vacuum-insulated mugs, glass cold cups, ceramic travel mugs, and plastic sports bottles all carry printed designs that make them sellable at premium prices. But the printing process itself is nowhere near as straightforward as the finished products suggest.
A UV printer equipped with a rotary attachment handles the job in principle. In practice, the path from a clean tumbler to a durable, good-looking print is littered with failure points that catch even experienced operators off guard. Understanding these challenges upfront saves wasted materials, ruined batches, and the kind of frustration that comes from watching a perfect design peel off after three washes.
Surface Adhesion: The Number One Failure Point
Adhesion failure is the most common reason tumbler prints end up in the reject bin. Conventional inks simply don't bond well to metal or coated surfaces, and even UV-curable formulations struggle on certain substrates. The fundamental issue is surface energy. Stainless steel, glass, and glazed ceramics have low surface energy—they're non-porous and smooth, which means liquids bead up rather than spreading out and forming a strong mechanical or chemical bond.
The practical consequence is that prints that look perfect fresh off the printer can fail days or weeks later. A tumbler that passes an initial visual inspection might still have ink that hasn't truly anchored to the surface. When the end user washes it—even gently—the ink lifts, flakes, or peels in patches.
Prevention starts with surface preparation. Cleaning with 90% isopropyl alcohol and a lint-free cloth removes oils, dust, and manufacturing residues. Household glass cleaners are a trap—many contain silicone, which actively repels UV adhesives and makes the problem worse. Beyond cleaning, some operations apply a primer or adhesion promoter before the color layers. This adds a step and increases per-unit cost, but the reduction in failure rates often justifies the expense.
Coating Compatibility: Not All Tumblers Are Created Equal
The surface coating on a tumbler matters as much as the base material. Smooth powder-coated or painted finishes generally offer good adhesion for UV inks. Slick, silicone-based coatings without surface treatment are a different story—they actively repel ink and require aggressive pretreatment to become printable.
This creates a sourcing challenge. A tumbler that prints beautifully from one supplier might be a nightmare from another, even if both claim to sell "stainless steel tumblers." The difference often comes down to the clear coat or protective layer applied at the factory. Some coatings are formulated with printability in mind; others are optimized for scratch resistance or corrosion protection, with no consideration for how they interact with UV inks.
A shop in the Pacific Northwest that specialized in custom tumbler orders ran into exactly this problem. They had a reliable workflow on one brand of tumblers, switched to a lower-cost supplier, and suddenly saw adhesion failure rates jump from under 3% to over 18%. The culprit turned out to be a silicone-based release agent used in the manufacturing process that wasn't fully removed before the tumblers were packaged. The solution involved adding a dedicated degreasing station and extending the cleaning time from 30 seconds to two minutes per piece—a fix that worked but cut into their throughput.
Rotary Fixturing and Motion Control Issues
Printing on a curved surface introduces mechanical challenges that flatbed printing simply doesn't have. The tumbler needs to rotate at a consistent speed while the print heads fire in precise synchronization. Any deviation shows up immediately in the final print.
Slippage is a common problem. If the rotary fixture doesn't grip the tumbler securely, the object can slip during rotation, causing image distortion or banding. This is particularly problematic with tapered tumblers, where the diameter changes from top to bottom. A fixture that holds the narrow end securely might not provide enough grip on the wider end, leading to inconsistent rotation speed across the print.
The fix often involves adjustable fixturing with multiple contact points or rubberized grippers that conform to the tumbler's shape. But even with good fixtures, operators need to check tension and alignment regularly. A fixture that's slightly off-center will produce prints that are sharp on one side and blurry on the other—a defect that's easy to miss during a quick visual check but impossible to ignore on the finished product.
Ink Curing Inconsistencies on Cylindrical Surfaces
UV curing on a flat surface is straightforward: the lamp passes over the ink, and the polymerization happens uniformly. On a cylindrical surface, the geometry changes the equation. The distance from the UV lamp to the ink film varies across the curved surface unless the lamp array is designed to follow the contour.
LED UV curing systems on cylindrical printers often use multiple lamps arranged around the print zone to address this. But the curing intensity still needs to be calibrated for each tumbler diameter and material type. Too little curing energy, and the ink remains under-cured—soft, prone to smudging, and vulnerable to adhesion failure. Too much energy, and the ink can become brittle, cracking under minor flexing or thermal cycling.
The curing window is narrower than many operators expect. A change in tumbler wall thickness, a different base color that absorbs or reflects UV light differently, or even variations in the ambient temperature can push the process outside the optimal range. Regular calibration of UV lamp intensity and verification that print speed matches the machine's curing power are non-negotiable practices.
Print Banding and Image Distortion
Banding—visible lines or stripes across the printed image—is a frequent complaint in tumbler printing. The causes are varied: inconsistent rotation speed, clogged print nozzles, incorrect print head height, or mismatched resolution settings between the print head and the rotary motion.
Tapered tumblers add another layer of difficulty. Because the diameter changes, the surface speed at the top of the tumbler differs from the speed at the bottom during rotation. If the print head fires at a fixed rate, the image will stretch or compress vertically. Compensating for this requires RIP software that accounts for the taper angle and adjusts the firing timing accordingly.
Some operators try to fudge their way through by adjusting the image in the design file, but that's a band-aid, not a solution. The proper approach involves measuring the tumbler's diameter at multiple points, inputting those values into the printer's software, and letting the system calculate the necessary timing adjustments. It adds setup time but eliminates the distortion that makes tapered tumblers look unprofessional.
| Challenge | Primary Cause | Most Effective Mitigation |
|---|---|---|
| Adhesion failure | Low surface energy / contamination | Alcohol cleaning + primer |
| Coating incompatibility | Silicone or slick coatings | Supplier screening + surface treatment |
| Rotary slippage | Insecure fixturing | Adjustable grippers + regular tension checks |
| Inconsistent curing | Variable lamp-to-ink distance | Calibrate for each diameter |
| Banding | Speed / nozzle / height mismatch | Systematic troubleshooting workflow |
| Taper distortion | Diameter change | Taper compensation in RIP software |
The White Ink Layer Problem
Many tumbler designs require a white ink base layer to make colors pop on dark or metallic backgrounds. White UV ink is thicker, contains more pigment, and behaves differently than color inks. It's more prone to clogging print heads, requires different curing parameters, and has its own adhesion characteristics.
The white layer needs to be laid down evenly and cured properly before the color layers go on top. If the white ink is under-cured, the subsequent color layers won't adhere well. If it's over-cured, it can become brittle and crack. Getting this balance right requires careful tuning and consistent monitoring—and it's one of the first things to go wrong when operators rush through setup.
Practical Approaches to Reducing Failure Rates
The challenges in tumbler printing aren't insurmountable, but they do demand a systematic approach. Successful operations treat each tumbler type as a new process rather than assuming that what worked last week will work today.
A structured workflow helps: clean every tumbler with the same protocol, run test prints on sacrificial pieces before starting a batch, document the curing parameters for each material and color combination, and inspect prints under good lighting before they leave the print station. Adhesion testing—even a simple tape test—catches problems before they become customer complaints.
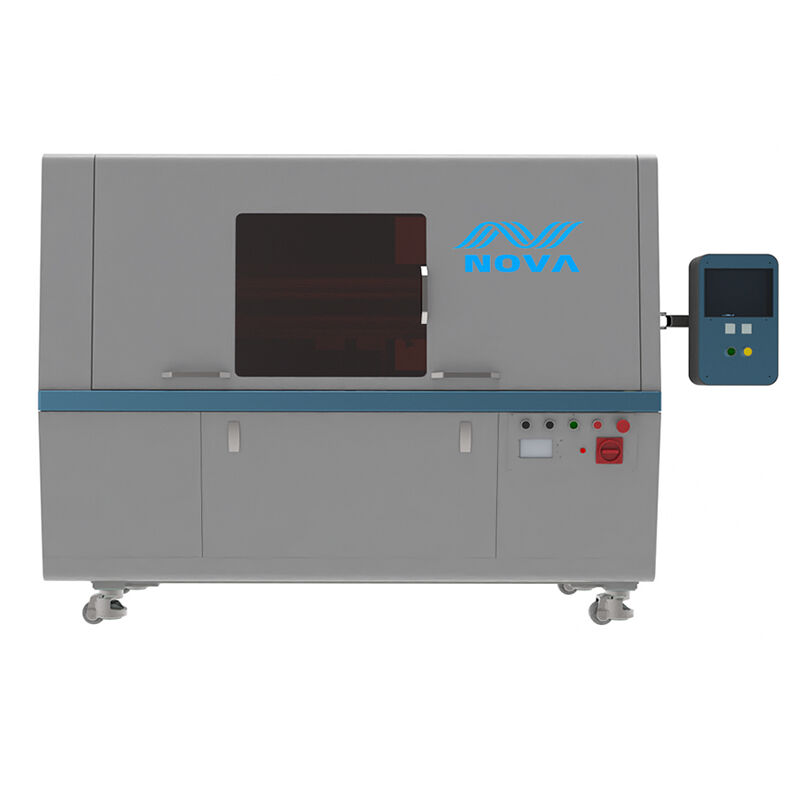
The equipment choice also matters. Printers with adjustable fixturing, precise rotation control, and user-accessible curing calibration reduce the number of variables that can go wrong. Xiamen Luhua jie Digital Technology Co., Ltd. manufactures cylindrical UV inkjet printers designed with these practical considerations in mind, offering adjustable parameters for ink density, curing intensity, and print speed to accommodate different tumbler materials and geometries. The ability to dial in settings per job rather than running a one-size-fits-all process makes a tangible difference in consistency and yield.
Table of Contents
- The Tumbler Printing Boom and Its Hidden Complexities
- Surface Adhesion: The Number One Failure Point
- Coating Compatibility: Not All Tumblers Are Created Equal
- Rotary Fixturing and Motion Control Issues
- Ink Curing Inconsistencies on Cylindrical Surfaces
- Print Banding and Image Distortion
- The White Ink Layer Problem
- Practical Approaches to Reducing Failure Rates