
 EN
EN
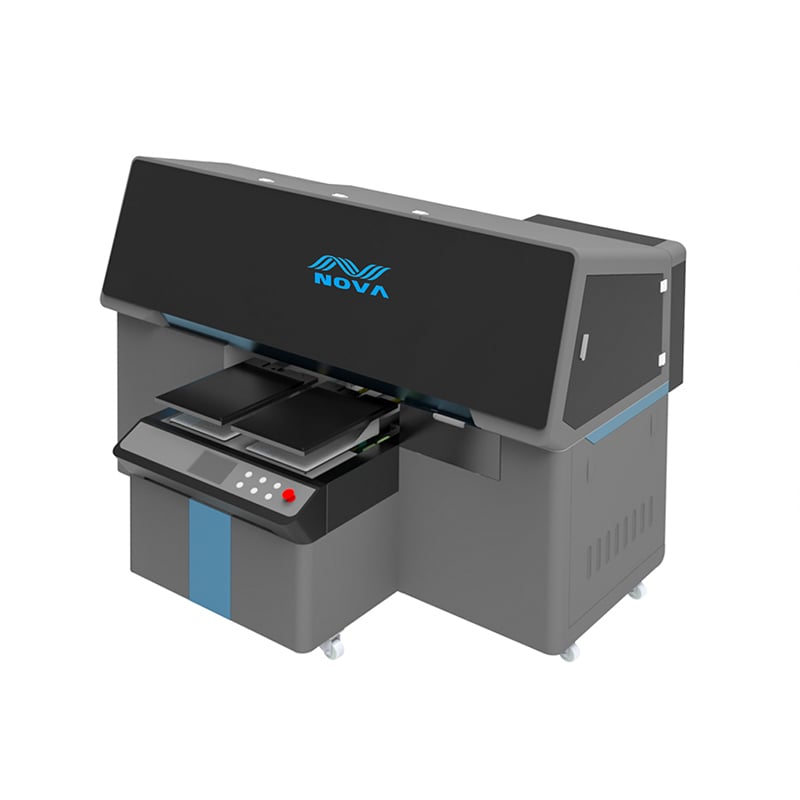
The Shift from Labels to Direct Printing
For decades, decorating cups meant applying pre-printed labels or using screen printing—methods that work but come with significant limitations. Labels add material cost, require application equipment, and create a potential failure point where the label can peel or bubble. Screen printing delivers durability but struggles with full-color gradients, photographic images, and short-run economics.
Direct-to-object inkjet printing changes this equation entirely. A cup printer applies ink directly to the cup surface, eliminating the label substrate and the associated application step. The digital nature of the process means no screens to burn, no setup charges for design changes, and no minimum order quantities that force overproduction.
The global drinkware market was valued at approximately $36.6 billion in 2025, with steady growth driven largely by demand for customized products. This isn't a niche trend—it's a fundamental shift in how consumers and businesses approach branded merchandise, promotional products, and even everyday tableware. Cup printers sit at the intersection of this demand and the technology that fulfills it.
A promotional products company in the Pacific Northwest made this transition two years ago. They had been outsourcing cup decoration to screen printers, with lead times of three to four weeks and minimum orders of 500 pieces per design. After installing a direct-to-cup UV printer, they reduced lead times to under 48 hours and eliminated minimums entirely. Their cup business grew from about 15% of revenue to over 40% within 18 months—not because they found new customers, but because they could now serve existing customers who previously couldn't justify the order quantities.
Full-Color Capability: Beyond CMYK
Printing full-color designs on cups requires more than just the four standard CMYK colors. The curved, often cylindrical surface presents challenges that flat printing doesn't encounter, and the range of cup materials—ceramic, glass, plastic, metal, and coated paper—demands versatility in both ink formulation and printhead configuration.
Modern cup printers typically use expanded color configurations. A six- or eight-channel setup with CMYK plus light cyan, light magenta, white, and varnish enables smoother gradients, expanded gamut, and the opacity needed for dark or transparent substrates. The white ink layer is particularly critical—without it, colors printed on dark cups appear muted and washed out. With a white underlay, the same colors achieve the vibrancy expected from professional branding.
The light cyan and light magenta channels address a different problem: graininess in smooth gradients. Standard CMYK struggles with subtle transitions because the dot pattern becomes visible in lighter areas. Light inks fill these gaps, creating the appearance of continuous tone that's essential for photographic images and complex illustrations.
Varnish adds both protection and visual appeal. A clear overcoat protects the printed design from abrasion, dishwashing, and the general wear that cups experience in daily use. It also provides a gloss or matte finish that enhances the perceived quality of the finished product.
The Geometry of Cup Printing
Cups aren't perfect cylinders. Most taper slightly from top to bottom, and many have handles, ribs, or other surface features that complicate the printing process. A cup printer must handle these variations without compromising print quality.
The taper creates a variable surface speed—the wider bottom of the cup moves faster than the narrower top during rotation, assuming constant rotational speed. Advanced cup printers compensate for this through variable speed control or, in more sophisticated systems, through printhead firing adjustments that account for the changing surface velocity.
Handles present a different challenge. They create physical interference that prevents continuous 360° printing across the handle area. Some printers handle this by printing the cup body and handle in separate passes, with the handle treated as a distinct surface. Others use specialized fixturing that indexes the cup to avoid the handle during printing.
Ribs and other decorative features create surface height variations that affect printhead-to-surface distance. Maintaining consistent distance is critical for drop placement accuracy, so cup printers with adjustable printhead height or auto-focus capabilities handle these features better than fixed-head systems.
UV Curing and Material Compatibility
The instant curing provided by UV LED systems is what makes direct cup printing practical for production environments. Cups can be printed and immediately handled, packed, or shipped. No drying racks, no waiting periods, no risk of smearing during downstream handling.
The material compatibility of UV-curable inks is equally important. A single cup printer might handle ceramic mugs, stainless steel tumblers, plastic sports bottles, and glassware in the same production run. The UV ink formulation must adhere well to all these materials, and the curing parameters—wavelength, intensity, and exposure time—must be adjustable to match each substrate's characteristics.
Adhesion testing per ASTM D3359 provides a standardized way to verify ink bonding across different materials. UV-cured inks on properly prepared cups typically achieve 4B to 5B ratings, indicating excellent adhesion that withstands the handling and washing that cups endure in normal use. For context, this is the same adhesion standard expected for industrial coatings on critical components.
| Cup Material | Surface Preparation | UV Ink Formulation | Typical Adhesion Rating (ASTM D3359) |
|---|---|---|---|
| Ceramic | Plasma or flame treatment | High-flexibility formulation | 4B–5B |
| Stainless steel | Plasma treatment | Metal-adhesion formulation | 4B–5B |
| Polypropylene | Corona treatment | Polyolefin-compatible formulation | 4B |
| Glass | Plasma or primer | Glass-adhesion formulation | 4B–5B |
The table illustrates that material compatibility isn't automatic—it requires matching surface preparation and ink formulation to the specific substrate. A cup printer that offers adjustable pretreatment and supports multiple ink formulations provides the flexibility needed for mixed-material production runs.
Workflow from Design to Finished Cup
The journey from digital design to printed cup involves several steps, each of which affects the final result:
-
Design preparation accounts for the cylindrical geometry. Graphics that look correct on a flat screen require distortion compensation to appear undistorted when wrapped around a cup. Advanced RIP software handles this automatically, applying the necessary geometric transformations.
-
Color management ensures that the printed colors match the design intent. This involves profiling the printer, inks, and substrate combination to achieve predictable, repeatable results. The expanded color gamut of six- or eight-channel systems provides more headroom for accurate color reproduction.
-
Pretreatment prepares the cup surface for ink adhesion. Plasma, corona, or flame treatment increases surface energy, improving wetting and bonding. Some cup printers integrate pretreatment inline, creating a single continuous process.
-
Printing applies the ink in the precise pattern determined by the RIP. The printhead fires droplets measured in picoliters, building the image layer by layer. White ink goes down first on dark or transparent cups, followed by CMYK and light inks, with varnish applied last.
-
Curing solidifies the ink instantly. UV LED curing delivers the right wavelength and intensity to polymerize the ink without overheating the cup substrate—particularly important for heat-sensitive plastics.
-
Quality inspection verifies that the print meets specifications. Some systems integrate camera-based inspection that checks for defects immediately after printing, catching issues before they reach the customer.
A mid-sized promotional products distributor implemented this workflow and documented a measurable improvement in their operations. Their average order fulfillment time dropped from 14 days to 3 days, and their customer satisfaction scores increased by approximately 22% over the following year. The improvement came not from faster printing alone but from eliminating the bottlenecks associated with outsourced screen printing—design approval cycles, shipping delays, and minimum order quantities that forced customers to over-order.
Common Pitfalls and How to Avoid Them
Even with the right equipment, cup printing presents several common failure modes that can undermine quality:
Inconsistent adhesion often traces back to inadequate surface preparation. Cups fresh from manufacturing may have mold release agents or other contaminants that interfere with ink bonding. A consistent pretreatment protocol—applied to every cup, without exception—prevents this issue.
Color shifting occurs when the curing parameters don't match the ink formulation. Under-cured ink may appear dull or continue to change color after printing. Over-curing can cause yellowing or brittleness. Matching the UV lamp settings to the ink manufacturer's recommendations eliminates this variable.
Dot gain on curved surfaces results from the increased distance between printhead and cup surface at the edges of the printable area. Printheads with high throw distance capability handle this better than standard configurations.
Registration errors happen when the cup's rotational position isn't precisely tracked. A quality rotary encoder and closed-loop control system prevent this by continuously monitoring and adjusting for any deviation.
The key to avoiding these pitfalls is systematic process control—not just relying on the equipment's capabilities but actively managing the variables that affect print quality.
The Business Case for In-House Cup Printing
The decision to bring cup printing in-house involves more than just equipment cost. The value proposition includes reduced lead times, elimination of minimum order quantities, the ability to print variable data (serialized codes, personalized names, event-specific graphics), and the elimination of label inventory and obsolescence.
For many businesses, the tipping point comes when the cost of outsourced printing—including shipping, handling, and the overhead of managing multiple suppliers—exceeds the fully burdened cost of operating an in-house system. The calculation varies by volume and complexity, but the trend is clear: as cup printer technology has improved and prices have become more accessible, the break-even point has moved steadily downward.
Companies like NOVA offer cup printing solutions that combine robust print engines with the manufacturing quality control needed for consistent production, supporting businesses that want to bring cup decoration in-house without compromising on quality or reliability.